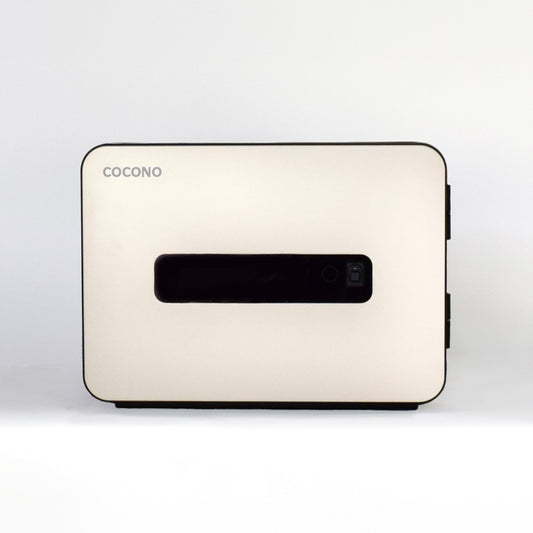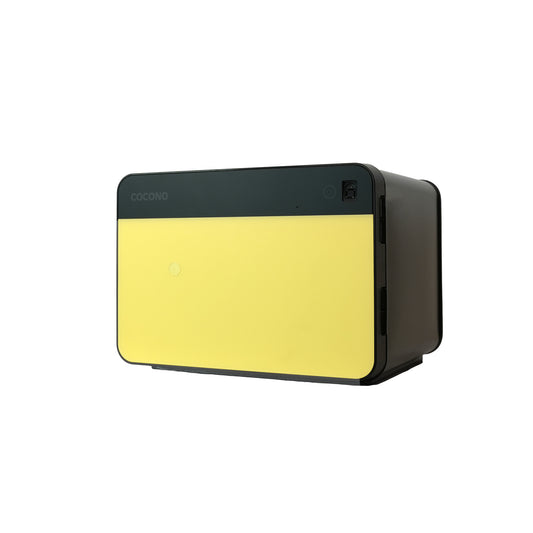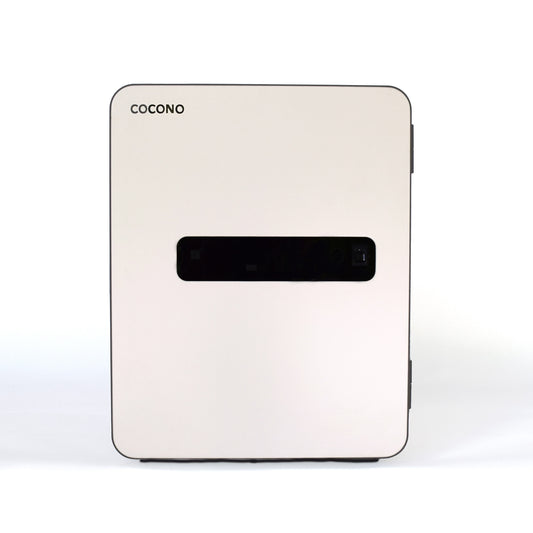


Cocono premium steel Wall Safes are easy to install and strong enough to last for generations. Built in the USA, they are designed to be installed between two standard wall studs. Install a wall safe behind a painting or mirror for complete discretion.

To install your safe, you will need the following:
- Tape measure
- Pencil
- Stud finder
- Level
- Drywall saw
- Drill with 3/16” drill bit and hex driver
- Ratcheting wrench with ½” socket
- 4x 5/16” flat washers
- 4x 5/16” X 1” lag screws
- Identify the wall to install your safe in. Mark the wall with a pencil where you want the bottom of the safe to be located. Keep in mind that the flange on the safe will extend 1” in all directions past the hole you cut for the safe to fit into.
- Use a stud finder to locate the nearest wall studs to the left and right of the mark you made on the wall. The safe will need to be installed between 2 wall studs, so if your preferred location is on top of a wall stud, you will need to adjust it to the left or right to fit.

- Use a level to draw a horizontal line between the two studs where you want the bottom edge of the safe to go. This will be your cut line, so keep in mind that the safe flange will extend 1” beyond the cut once the safe is installed.
- Use your level and a tape measure to draw vertical lines along the inner edge of the studs, starting at your bottom horizontal line and extending 12.5” up.

- Use your level to connect the top of the two 12.5” lines so that you now have a rectangle drawn on the wall.

- Use a drywall saw to plunge cut into one top corner of the rectangle and cut down along the vertical line until you reach the bottom of the rectangle. Repeat on the other vertical line. Cut along the horizontal lines so that the entire rectangle of drywall can be removed from the wall. Clean up your cuts as necessary.


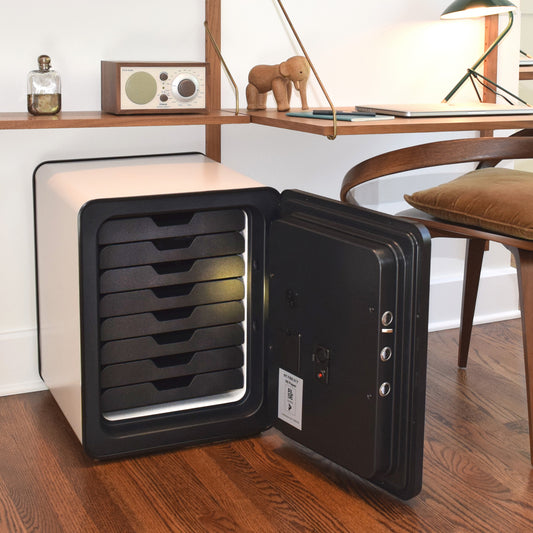
- Carefully insert the wall safe into the hole you just cut.

- Hold the wall safe in place (this is critical until the wall safe is secured to the studs) and carefully open the door by pressing 1-2-3-4-5-6, rotating the entire lock clockwise, then opening the door.

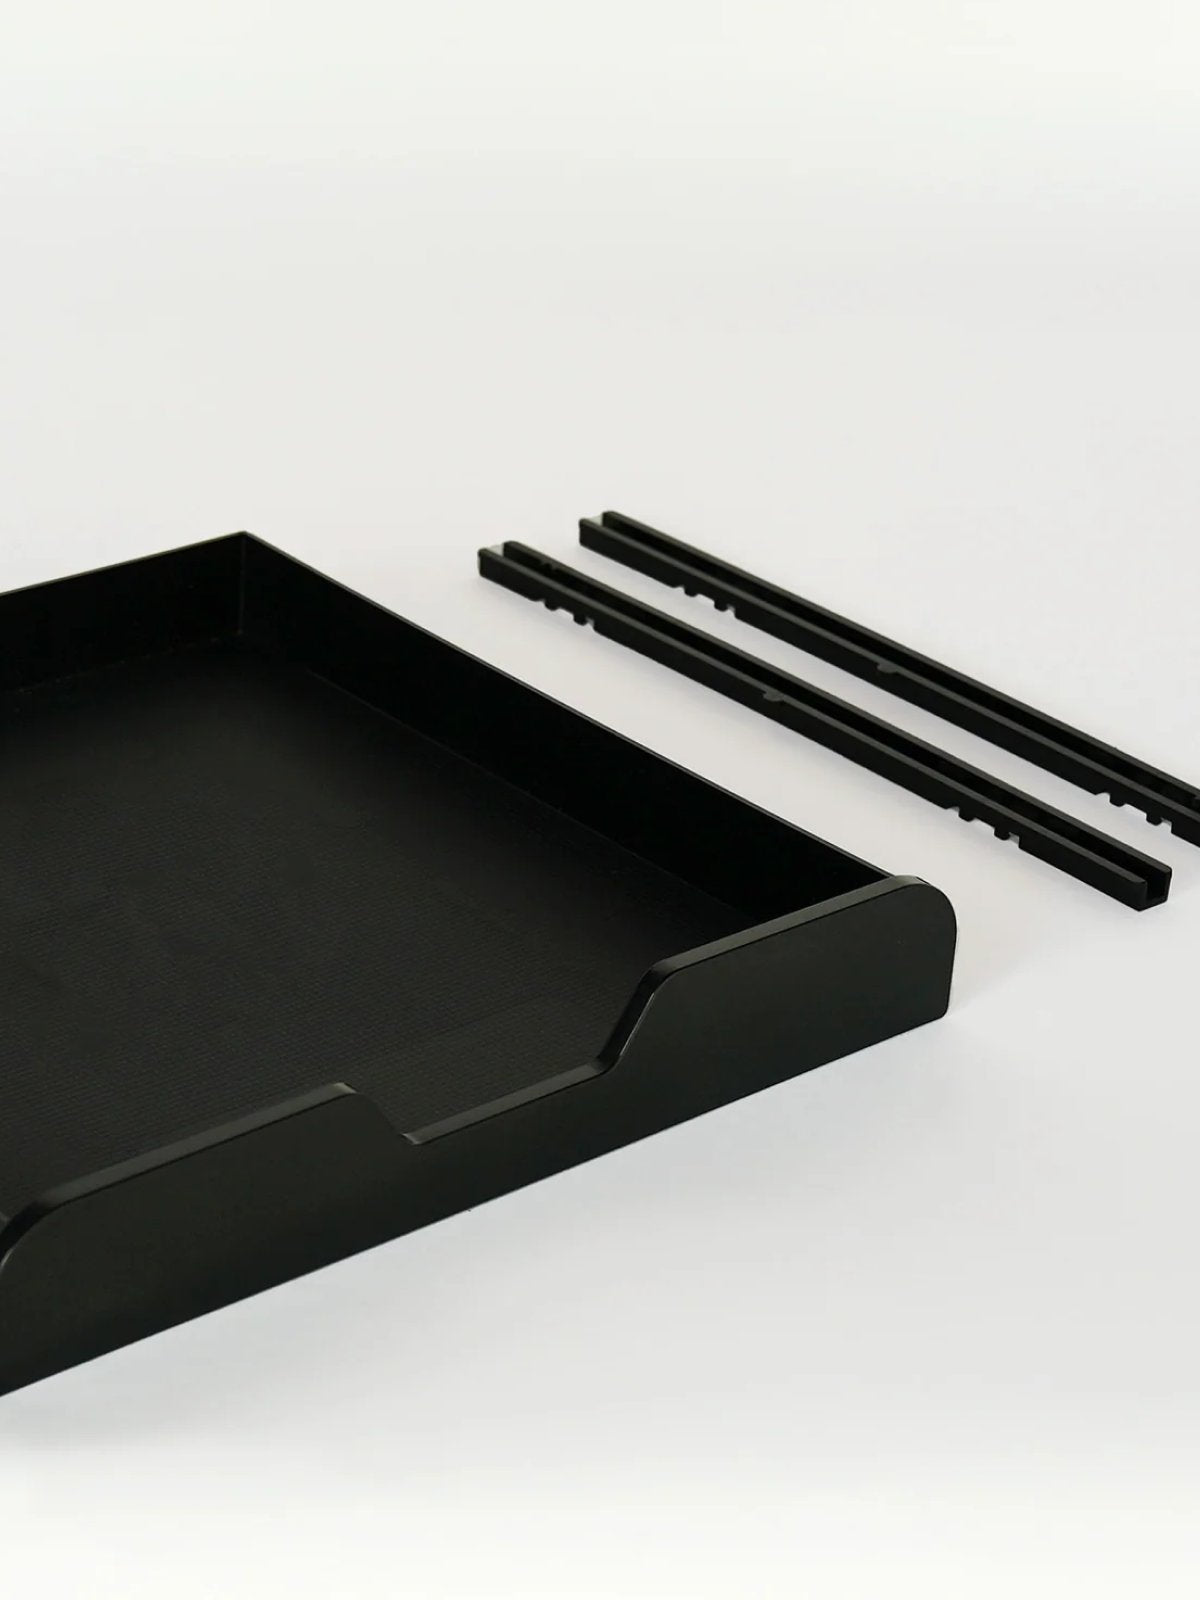
- Continue to hold the wall safe in place until it is attached to the studs. Remove the shelf and then pre-drill four 3/16” pilot holes into the studs through the holes on the left and righthand sides of the safe.

- Continue to hold the wall safe in place while you add a 5/16” flat washer to a 5/16” X 1” lag screw, and use a ½” socket on a ratcheting wrench to attach the safe to the stud. Do this through all four holes.


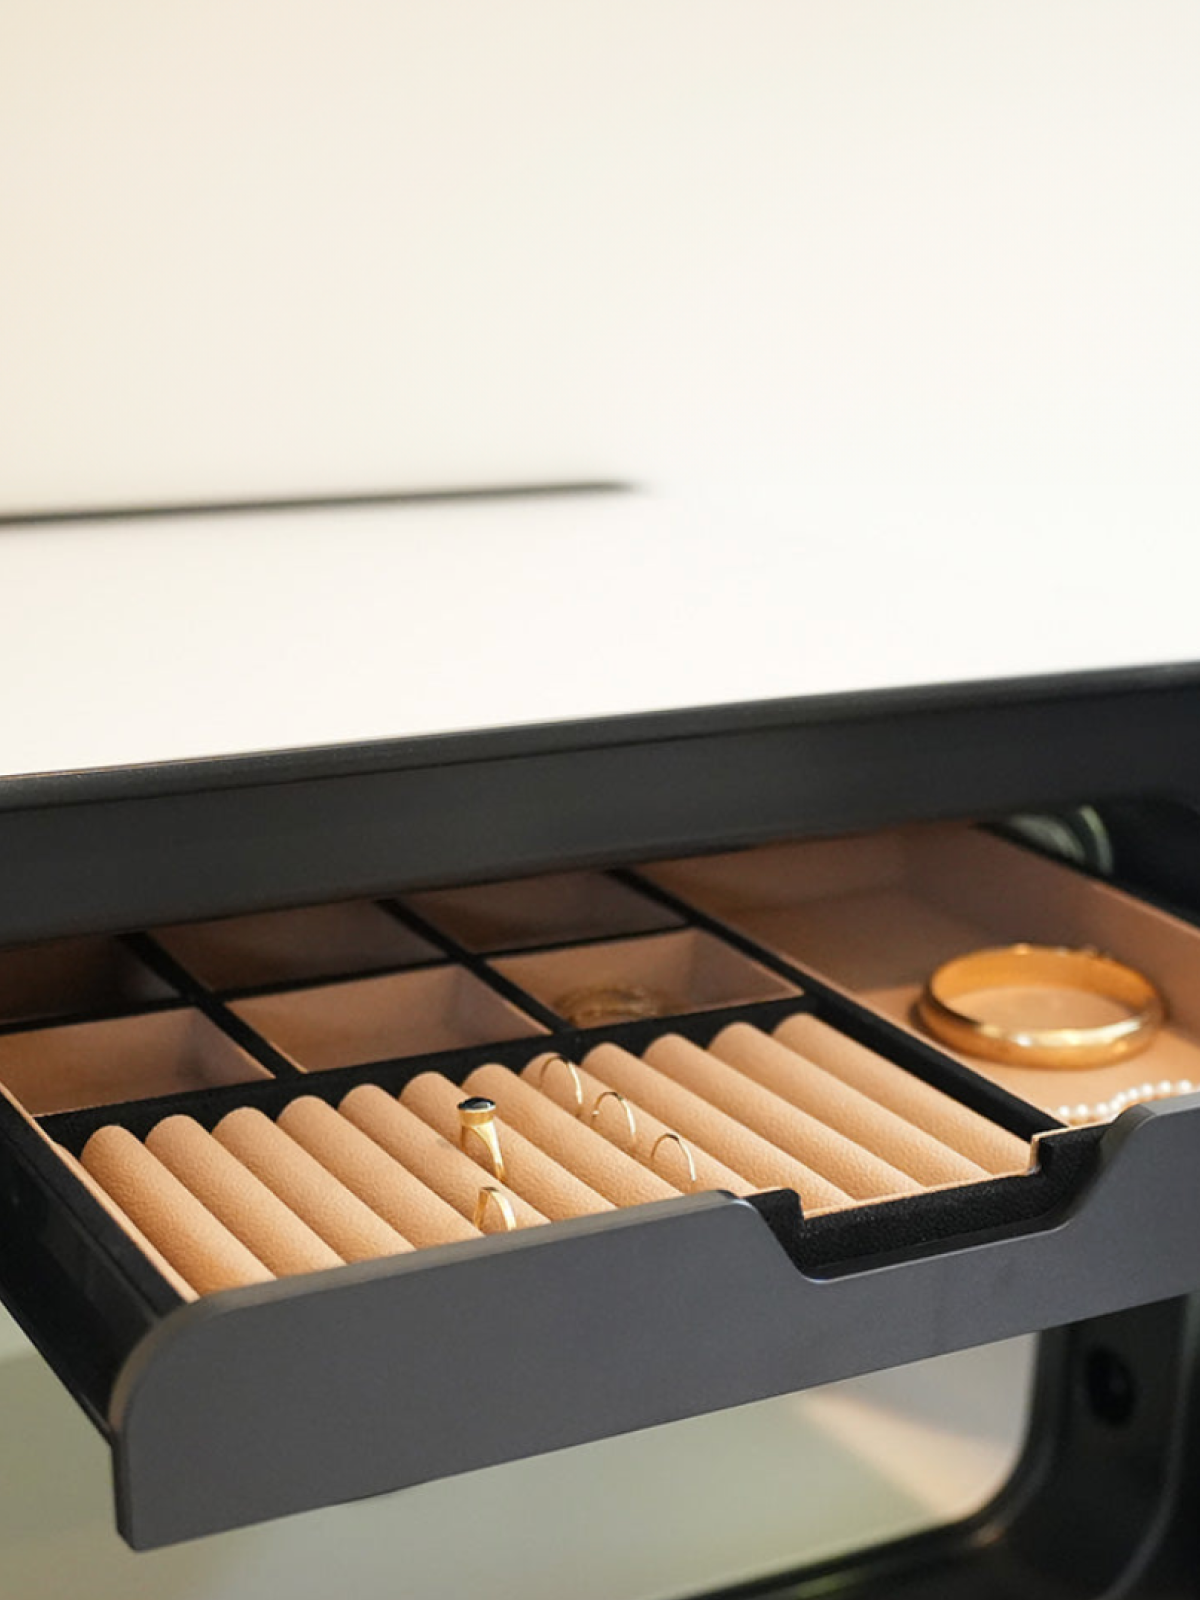
- Reinstall the shelf, set your codes, and hang a picture or mirror over the wall safe. If the picture you choose interferes with the keypad (or if you prefer for security), remove the keypad by pulling it toward you. It is held in place with magnets, and will remove with a firm grip (do not force it). You can then keep the keypad in a separate, secure location.

The installation of your Wall Safe between studs is now complete! Learn more about our hidden Wall Safes here.